Push-Up Perfection

Running With Forks Pushup Perfection

Push-ups might seem like an incredibly simple exercise, but there is SO much more to it than simply bending your elbows and pushing yourself away from the floor.  And if you've never been able to do one or never learned how to do a proper push-up, these tips can help you get on your way to building the strength you need to complete your first one or simply perfect form. I use push-ups not only to build upper body strength, but to increase trunk stability, correct muscular imbalances and teach the body how to work as one unit. 

If you've worked with me before, you know I'm a stickler for proper form and technique in order to prevent injury and help you get the most out of your effort.

(Modifications: To decrease the intensity, perform push-ups on an incline with your hands on a stable platform (bench, table, sofa, etc). Elevate your body to a degree that allows you to perform with excellent form and decrease the angle as you get stronger, working closer to the floor.)

ALIGNMENT! is KEY to performing a safe and effective push-up

STARTING POSITION - PLANK

Upper body: Place your hands slightly wider than shoulder distance apart with your index fingers parallel to each other and align your shoulders with your wrists. As you press your hands into the floor, draw your shoulders away from your ears and down your back and visualize spinning the hands away from your torso to engage the lats and serratus anterior. This action will help you stabilize and maintain a strong upper body throughout the movement. 

Spinal Alignment: Maintain a neutral head position so your body forms a straight line from the back of your head all the way to your heels. (It can be helpful to visualize a broomstick along the backside of your body - in contact with your head, upper back, hips and heels). 

Focal Point: Pick a spot about one foot in front of your hands and maintain that focal point throughout the movement to help maintain the proper spinal alignment.

Core/Lower Body: Draw your navel up towards your spine to engage the abdominals; draw your bottom ribs and frontal hip points towards each other to fully engage the anterior core muscles; press your thighs towards the ceiling to engage the quadriceps; squeeze your glutes to help neutralize the pelvis and minimize stress to the spine; squeeze your inner thighs and ankles together to assist in engaging the entire lower body and core.

YEW! That's a lot to think about and we haven't even moved! 

BREATHWORK

Your breath is so so so important as you perform this exercise (any exercise for that matter!), giving you more power and stability for each repetition. As you sit here and read this, give this a try - take a deep breath in and exhale ALL of your air out until you feel empty. Notice how the core fully engages. 

When to breathe: INHALE as you lower your body towards the ground and EXHALE on the effort of pushing yourself back up to the starting position.

NOW THE PUSH-UP (THINK OF IT AS A MOVING PLANK!)

As you inhale, visualize slowly lowering your chest towards the floor, maintaining the alignment from your plank position. Elbows should be angled and pointed back to 45 degrees rather than directly out to the side. Use the strength of your legs and core to resist gravity and slow you down as you lower. Do not let your muscles relax. Pause when you find your edge that you can hold for a second and maintain alignment.

As you exhale, visualize lifting your body back up in a straight line as one solid unit, lifting your navel towards your spine. This movement should feel like a total body exercise, not only a chest and upper body exercise. If you lost ANY of your alignment lowering or coming back up, decrease the distance that you lower until you find you can maintain excellent form throughout. 

REMINDER ONCE AGAIN - if this feels too challenging or you cannot maintain proper alignment, elevate your push-up to an incline and perform as described above. As you increase your strength, decrease the angle of your incline to move closer to the floor. 

NO GO GET 'EM! Let me know if you have ANY questions - so happy to answer and help you perfect this universally amazing exercise.

Cheers! KM

The only frittata recipe you'll ever need

Running With Forks Frittata

One pan, easy and fast, and packed with a bounty of nutrition. Frittatas are my go-to for eggs when I'm entertaining friends and also one of the easiest things for having healthy breakfast on hand in the morning. Make it on a Sunday and have a delicious go-to Monday, Tuesday and Wednesday – unless you have a giant family an big eaters and it might not even make it off the table – so worth it, regardless. These one pan winners are packed with protein and veg and ideal for using up any leftovers you might have in the fridge.

Master the basics and then get creative.  Here are my frittata rules:

  • 1 dozen eggs : 1/2 c dairy

  • well-seasoned 8-10 in cast iron skillet for a dozen eggs or more (less eggs for this size will result in a thin, dry frittata)

  • well cook all ingredients first

  • 350 degrees, 20-30 min

Here I made my favorite spring herb frittata.  We are starting to see more and more nutritious green vegetables which makes me want to put them in everything. And that's what I did here.

SPRING HERB FRITTATA

Prep Time: 10 mins | Total Time: 40 mins | Serves: 6-8 

Ingredients:

  • 12 farm eggs

  • ½ c coconut milk (or heavy cream if ok with dairy)

  • 1-2 Tbsp olive oil

  • 1 medium leek, halved and thinly sliced

  • 1 medium zucchini, halved and thinly sliced

  • 2 cups shiitake mushrooms, thinly sliced

  • 12 stalks asparagus, 1 inch pieces

  • 3-4 Tbsp chopped parsley

  • 2-3 Tbsp dill, chopped

  • 2 Tbsp chives, thinly sliced

  • ¾ c shredded fontina or dairy-free cheese such as daiya

  • Salt and Pepper

 Directions:

  1. Preheat oven to 350 degrees.

  2. Heat a cast iron skillet or deep sauté pan or over medium high heat. Once hot, add leeks and a small pinch of sea salt and sauté until softened. Add mushrooms in a single layer and brown on each side. Once mushrooms are cooked through, add zucchini, asparagus and a small pinch of sea salt to season and cook until just softened.

  3. Meanwhile, in a large bowl, whisk eggs, milk, parsley, dill and chives. Stir ½ c cheese into egg/herb mixture and season with sea salt and fresh cracked pepper.

  4. Pour egg/herb mixture over sautéed vegetables, shaking pan to distribute (do not stir) and sauté for 5 minutes until edges are just set. Sprinkle ¼ c shredded cheese over the eggs and place in oven for 20-30 minutes or until beginning to brown on top.

  5. Remove from oven, let cook slightly and top with fresh spring herbs to serve.

Ain't No Spring Chicken!

Running With Forks Spring Chicken

Hello Spring. Hello Chicken. Hello Beautiful Spring Veg. And Hello YOU.

Whelp, it's been awhile, hasn't it? I've been chugging away over here recovering from the ACL surgery (which is finally going great, btw!), handling a slew of puppy emergencies (ruptured gall bladders are no joke!), organizing surprise trips for people and then turning around and having to cancel, sneaking bits of sun when it pokes its' head out from behind the clouds, and of course, working with my favorite people on changing their lives!!!! 

And in between it all, I've still been cooking, promise.  Here's a recipe I created just for Barre3, and its a good one! 

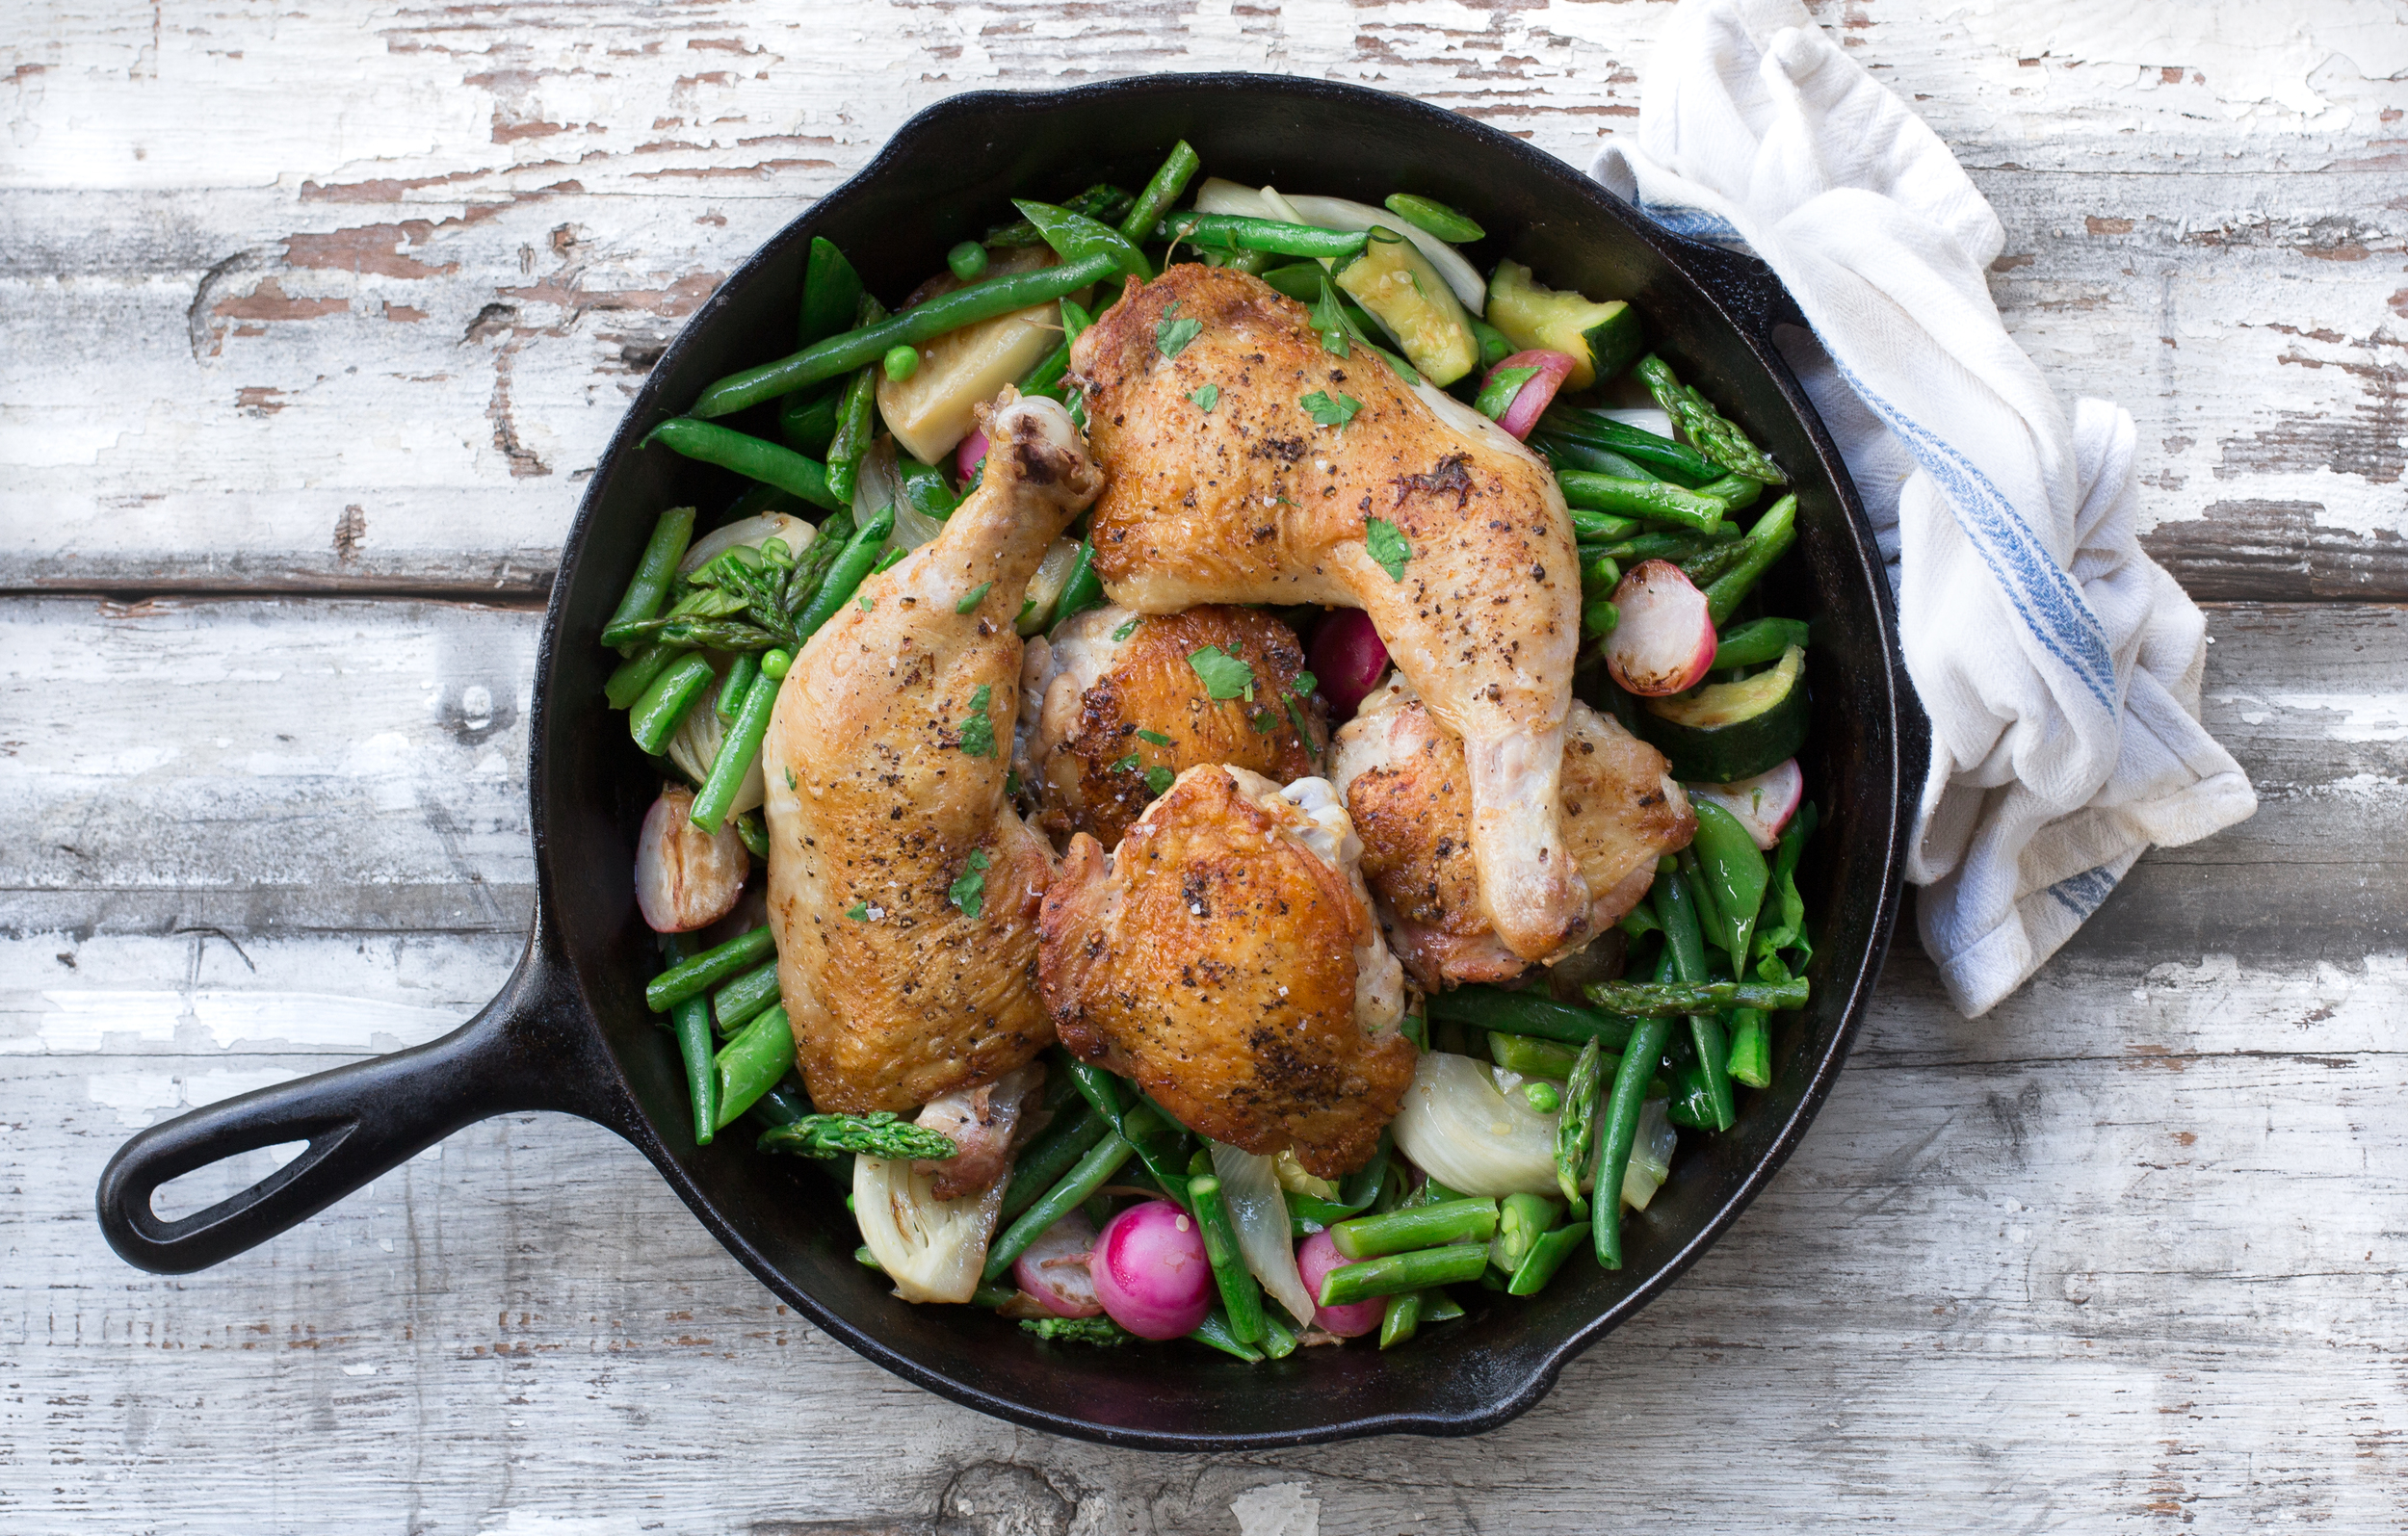
Easiest and most-perfect roasted chicken you can make - keep it on hand as a staple chicken recipe - and use any spring vegetables you prefer! And of course, you can use this recipe year round and swap out the veg that's in season that time of year!  

Enjoy the longer, sunnier days, my friends!

xx

Roasted Chicken with Braised Spring Vegetables

We love this juicy chicken combined with fresh spring veggies. The fennel, garlic, and lemon not only add loads of flavor, they also fight inflammation and support healthy digestion. Besides being light and totally satisfying, this recipe also makes plenty of leftovers to enjoy the next day.

Prep Time: 15 mins  |  Total Time: 50 mins  |  Serves: 6-8

INGREDIENTS:

  • 8 chicken pieces (thighs, legs and breasts)

  • 1 Tbsp coconut oil

  • 1 Tbsp butter

  • 1 Tbsp olive oil

  • 6-8 radishes, halved

  • 2 garlic cloves, roughly chopped

  • 1 fennel bulb, trimmed, halved and quartered

  • 1 zucchini, halved lengthwise and chopped

  • 12-15 stalks asparagus, roughly chopped

  • 1 handful green beans, trimmed

  • 1 handful sugar snap peas, diagonally sliced

  • 1 small bunch of spring or green onions, trimmed and halved lengthwise

  • juice of half a lemon

DIRECTIONS:

  1. Preheat oven to 475 degrees.

  2. Season chicken pieces with sea salt and fresh cracked pepper.

  3. Heat oil in a large cast iron skillet or heavy oven-safe sauté pan over medium high heat. Once hot, add chicken pieces to pan, skin side down, and cook for 2 minutes. Reduce heat to medium and continue cooking until golden brown, about 10 minutes. Transfer pan to oven and cook an additional 10 minutes.

  4. Turn chicken over and continue cooking until juices run clear and skin is crisp, about 5 more minutes.

  5. Meanwhile, in a large deep sauté pan over medium-high heat, melt 1 Tbsp butter with 1 Tbsp olive oil. Add radishes cut side down and cook until golden brown on all sides, tossing occasionally. Remove from pan and set aside. Add fennel and garlic and sauté until fragrant and beginning to brown. Add zucchini, asparagus, green beans and snap peas, and cook, tossing occasionally until beginning to brown, about 2-4 minutes. Add green onions, lemon juice and 1/4 c chicken broth and season with sea salt and pepper. Cover and simmer for 2 minutes. Add radishes back in and season again if desired.

  6. Serve chicken with spring vegetables and top with fresh cut herbs.

Recovery + Nutrition: Eat This!

Injuries happen. And they stink, right?

As science tells us over and over again, our workouts and healing are only as good as our recovery - and that not only means what we do, but what we eat. So here's the scoop.

 
Running With Forks Injuries and Nutrition Recovery
 

(Side note on me: on January 2, 2016, the last day of our little holiday vacation in BC, I had a tumble filled with multiple 'pops' and 'snaps' while clenching my teeth wanting to scream 'F$!%#!!!!!!!!!!' Our trip ended with a sweet heli lift out of the backcountry and a completely re-torn ACL accompanied with an MCL that looked like a dried-out, stretched-out rubberband. Blech.)

 
Running With Forks Canada Ski Trip
Running With Forks Canada Heli Rescue ACL Injury
 

It's been 5 weeks of non-stop recovery for me and I want to share with you my top priority when recovering. Did you know that WHAT you eat when healing from an injury can play a huge role in your recovery and be extremely beneficial in combating those aches and pains? Here's why.


Any time you experience an injury, there are:

Three Phases of Tissue Repair

Inflammation | Repair | Remodeling


These phases happen not only during post-injury, but immediately after your intense workouts as well. Every time you train hard (while incredibly beneficial in the long term) you are creating tiny tears and breakdown of the tissue (in a good way!) and it requires proper rest, recovery and nutrition to help rebuild and increase strength. I bring this up to encourage you to apply some of the tidbits below to your workout recovery as well. Being conscious of a balanced diet helps support this repair and may also help prevent future injuries. BONUS! 

The inflammation Phase


The Response:

The inflammation phase begins immediately after an injury and lasts for 3-5 days. This phase, while uncomfortable, is an essential period of healing consisting of pain, swelling and immobility. Adding in certain anti-inflammatory foods during this time will help with this healthy inflammation without impeding the internal repair, which is key.

During this immobilization phase, there is also a decrease in muscle protein synthesis, therefore leading to muscle loss (atrophy), making it imperative you get adequate protein to support the healing.

Nutrition Focus: 

OMEGAS - A diet high in monounsaturated fats and omega-3 fats will be anti-inflammatory. Omega-3 fatty acids – the best sources of which are found in oily fish (salmon, mackerel, sardines, herring, trout), olive oil, avocados, flax oil, and mixed nuts and seeds.

BROMELAIN: Found in Pineapple - 2 cups of fresh pineapple per day or 500-1000 mg in supplement form. Not only is Pineapple high in bromelain - an enzyme believed to have powerful anti-inflammatory properties and promote muscle healing - it's also high in Vitamin C.

QUERCETIN: CHIVES AND GREEN ONIONS - Quercetin helps to increase circulation, bringing more blood flow to and from the injured tissue and manages inflammation.

Running With Forks Salmon and Injury Recovery
Running With Forks Nutrition and Injury Recovery
Running With Forks Fat and Injury Recovery
Running With Forks and Injury Recovery

ANTI-INFLAMMATORY HERBS AND SPICES: Manage your inflammation with some (NOT ALL) of the following. We don't want to suppress the inflammation response completely, we just want to manage it:

TURMERIC/CURCUMIN - Turmeric contains anti-inflammatory properties that can help with joint pain. Studies have shown that 2 g of curcumin daily was just as effective as 800mg ibuprofen for improving knee pain. 7 teaspoons/day or 400-600 mg 3x/d in the form of a supplement. 

GARLIC - 2-4 cloves per day or 600-1200 mg extract

GINGER - 2-3 g per day in powdered form. Studies have shown that women taking 3g/day of ginger or cinnamon had a significant decrease in muscle soreness.

FLAVANOIDS - Flavonoids, which are potent antioxidants like Vitamin C (citrus) and Selenium (blue-purple berries, tart cherries, green tea extract and cocoa) are effective for wound healing and inflammation management.

COCOA - Eh-hem. Just the perfect excuse to eat chocolate. 

Running With Forks Turmeric Injury Recovery
Running With Forks Injury Recovery
Running With Forks Injury Recovery Garlic
Running With Forks Injury Recovery
Running With Forks Injury Recovery Ginger
Running With Forks Injury Recovery

CONSUME ADEQUATE PROTEIN: It is incredible important to ensure you are getting in enough protein to help rebuild tissue (this can be as simple as a portion of lean meat or fish the size of the palm of your hand with each meal)

*Attempt to eat fewer pro-inflammatory foods such as processed foods, foods high in trans fats and vegetable oils


The Repair/Proliferation Phase


The Response:

This phase begins roughly 5 days post injury and lasts for 4-6 weeks. As the inflammation goes down, your body begins to lay down collagen (scar tissue) to replace the damaged tissue structure.

(Think about it like this: spread your fingers wide on your right hand and lay it flat on the table or over an injured joint (like your knee) as if it was a sticky spider web, and then take your left hand, spread the fingers wide and lay it directly over your right hand but at a diagonal to create a cross-pattern. Visualize this repeating over and over, creating this sticky, adhesive, messy webbing. That's collagen. It's messy, but it's protective.) 

When we are fearful of pain or are experiencing pain and restricting our range of motion (ROM), as the body begins to lay down this collagen, it will start to bind the muscle fibers together as well as bind the connective tissue to the muscles and joint and in the end you'll be left with painfully restricted ROM. No bueno. 

Nutrition Focus:

Continue consuming foods from the Inflammation Phase above.

VITAMIN C - Vitamin C is crucial for collagen synthesis – the protein found in connective tissue, tendons, ligaments and muscle – and is also a potent antioxidant, enhancing immune cell function. Since the body can't store Vitamin C, it should be consumed throughout the day from high sources such as bell peppers, dark green leafy vegetables, parsley, brassicas and citrus fruits. 

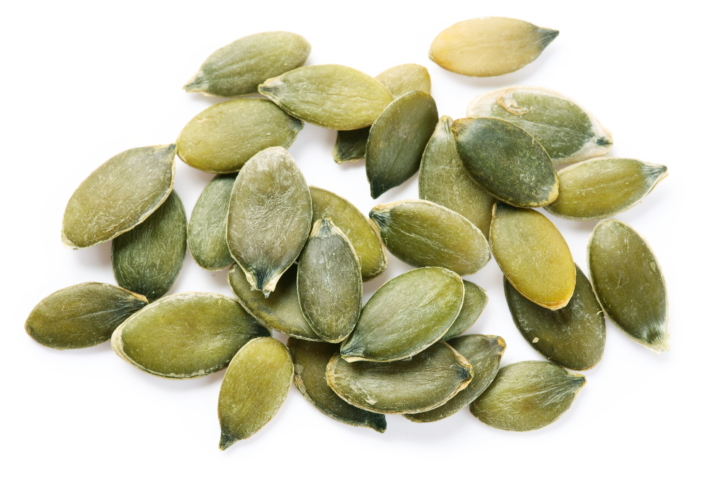
ZINC - My favorite excuse to eat oysters! Zinc, essential for tissue regeneration, is obtainable from shellfish, lean beef or lamb and pumpkin seeds and nuts (such as almonds - which also provide copper) for collagen synthesis. 15-30mg/d. If taking zinc, balance it with copper - an excess in one can cause a deficiency in the other.

SUPPLEMENTS TO CONSIDER: Supplementing with LYSINE, ARGININE and GLYCINE 2-4 weeks post-injury to help with re-establishing collagen, COPPER 2-4 mg/d during the first few weeks and VITAMIN A 10,000 IU/d for 1-2 weeks post-injury.

Running With Forks Injury Recovery Brassicas
Running With Forks Injury Recovery Oysters


The Remodeling Phase


The Response:

During the third or fourth week, strength training becomes so important for a full recovery and lasts about six months. (This is where I am right now!) This is the time where stressing the muscles and connective tissue improves your function and stimulate growth.

Nutrition Focus:

  • Continue all the powerful and healing superfoods you've added in during the first phase

  • Adjust portion sizes for adequate energy consumption

  • Focus on a healthy nutrient-dense diet, incorporating healing foods

  • Consume protein with every meal

  • Eat a balance of healthy fats

  • Avoid processed foods

  • Eat the rainbow for micronutrients involved in healing

  • Consume herbs and spices for anti-inflammatory support

  • Add in the below micronutrients for enhanced support and strength


Anytime

chlorophyll

The building blocks of plants are filled with detoxifying and anti-inflammatory nutrients and not to mention this gorgeous, colorful, tasteless, magnificent powder (or liquid) you can add to ANYTHING. 

Running With Forks Injury Recovery Chlorophyll


heal up babies. i'm doing my best, now you do yours.

Supermarket Survival

Running With Forks Supermarket Survival

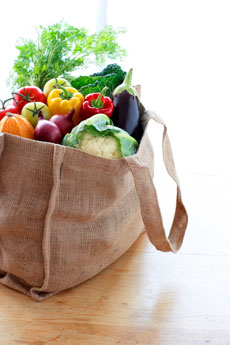
Shop more efficiently, navigate the grocery store like a pro, reduce temptations and distractions and ensure you’re filling your cart with healthy foods!

I don't know about you, but I could spend houuuuuurs strolling through the aisles of my local market.  And the farmer's market?!...forget it, just leave me be and I'll see you at dinner. Most people know that the market is one of my happy places but I know for a fact that some of you absolutely hate it, put it off until the last minute, and then don't have enough time so end up picking up take-out.  You barely have time to throw dinner together, let alone navigate the grocery store to find the healthier items that should be finding their way into your cart.  

Well, I have a few tips when it comes to just that.  

First things first. MAKE A LIST:

Plan ahead and take the time to put a list together and ALWAYS shop with one. If it's not on the list, don't buy it. Just you, your cart and that list! This not only saves you time and money, but it saves the waste from impulse purchases.

DON'T GO UNDER-NOURISHED OR HUNGRY:

I know when I'm hungry, I shouldn't talk to people, make decisions or drive a car. I'm cray. Always be prepared for the grocery store. Have a healthy dose of vegetables, healthy fats and protein before making your way to the store and if you're on the go, never leave home without a little stash of nuts, veggies or a healthy bar in your bag.

MAP IT OUT:

Shop the perimeter of the market.  The healthy items are found along the perimeter, so shop mostly here, where the produce, dairy and meat can be found. Try to avoid the inner aisles as best you can, which is filled with processed, frozen and junk food. If you should have to grab something from an inner aisle, enter and exit from the same side...no need to wander all the way through.  Get what you need and head on out!

BEWARE OF THE AISLE-ENDS:

Markets tend to prop up sale items at the end of aisles and majority of the time they are not items that are going to help you shop efficiently and healthfully. Eeevery once in awhile there might be a good find , but that'll be a gem.


CART HALF-FULL:

Unless it is filled with bunches and bunches of kale and swiss chard or you're feeding a family of five, there's probably not a reason to fill your cart.  

LABEL READING CHECKLIST: 

When reading labels, there are a few things that you should look for.  

 - Whole Foods

 - No more than a few ingredients

 - Food that is close to it's original state

 - Organic and local if possible

 - Minimal or no packaging

And a few things to avoid.

 - Sugar (Look for tricky words such as "syrup", words ending in "-ose", words beginning with "malto-", made with/contains real fruit, fortified with)

 - Artificial sweeteners, additives, preservatives, coloring

 - Hydrogenated oils

 - Any ingredient you don't recognize

I hope this helps!  I'm off to my happy place! xx